Selecting a project on an expense sheet
To enter expenses against a project, you must have been assigned to a project and you have incurred expenses for that project.
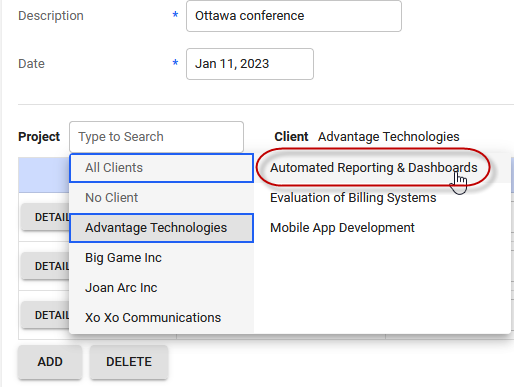
When you open a new expense sheet, click the Project drop-down list, and then select the project. You can also search for a project in the search box provided.
Entering expenses against tasks
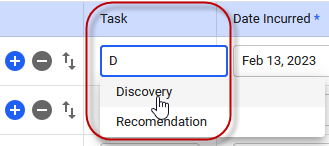
If your administrator has enabled the Task column, you can enter expenses against tasks if the expenses were incurred for the tasks under the selected project.
Entering expenses against multiple projects
You can add expenses against multiple projects in the same expense sheet. To add multiple projects, click the Add Project button at the bottom of the expense sheet.
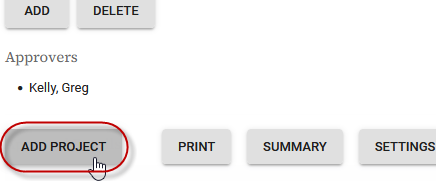
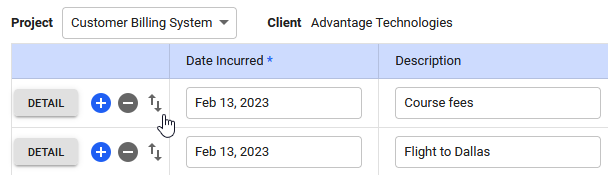
A new section of expense columns is displayed for you to enter expenses.
Select the project against which you want to enter the expenses as described earlier.
Moving expenses to another project
When you add multiple projects in an expense sheet, you can move expenses from one project to another.
To move an expense to another project, click the ![]() icon against an expense.
icon against an expense.
In the Move line to another project screen that is displayed, select the project from the Project drop-down list, and click OK.
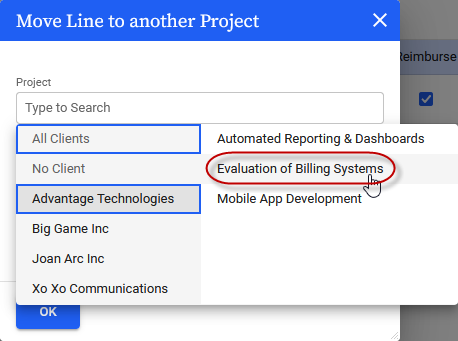
The expense item will be displayed in the selected project.
Related links
Expense sheet tour
How do I correct my expenses after I've submitted them?
Attaching a receipt to your expense entry
Do I need to include tax when I enter my expenses? How are taxes calculated?
Entering expenses