Using Quick Allocation to add, edit, and view resource allocations
Sometimes, small- to medium-sized organizations don’t want to follow the formal back and forth request process when allocating resources, due to its higher overhead.
At these sorts of companies, the resource manager might know the skillset of each resource, and may want to use that knowledge to make allocation decisions, instead of relying on SmartMatch.
These managers can use Polaris’ Quick Allocation feature to make and edit allocations directly.
Even in larger organizations that primarily use the request fulfillment workflow, resource managers might sometimes want or need to make refinements to existing allocations. In this case, they might use Quick Allocation to make manual edit allocations, or to add new ad hoc allocations, rather than using requests.
Using Quick Allocation, you can:
- Add, edit, and delete allocations
- View actual hours worked, and compare them to allocated hours
- Add projects on the fly, to allocate to resources
- Sort and filter resources to find who you’re looking for
- View a resource’s allocations per project
- Easily compare users’ allocations
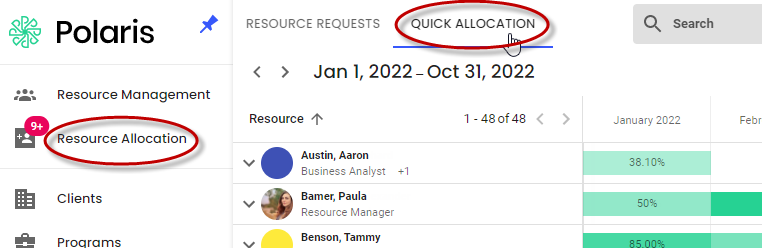
Accessing Quick Allocation
To open the Quick Allocation page, click Resource Allocation in the side menu, and then click Quick Allocation.
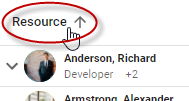
Finding resources
|
Moving between pages |
|
|
Filtering allows you to limit which projects and resources display, so only those who meet your basic requirements are visible. This can help you compare allocations assigned to different individuals, and can make projects easier to find. Quick Allocation offers nearly a dozen filters to help you find resources. For example, you can filter by the project or role assigned to the resource, so only resources with those assignments display, or by resource pool, so only members of that pool will display in the list. To filter the resource list, click the
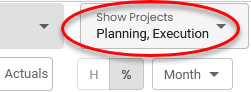
You can also use the Search field to search for strings that appear in resource names. You can also use the Show Projects filter, located in the top, right-hand corner of the page, to limit which projects display by status.
|
Viewing allocations
|
Changing the dates in view |
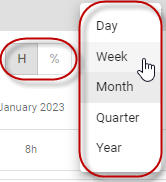
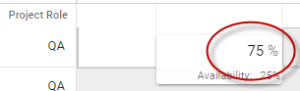
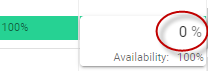
You can change the time scale for the Quick Allocation page using the field located on the upper, right-hand side of the page. You can also switch between viewing hours or percentage of work time available.
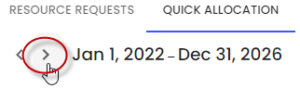
You can also click through date ranges, using the
|
|
Viewing allocations per project |
|
|
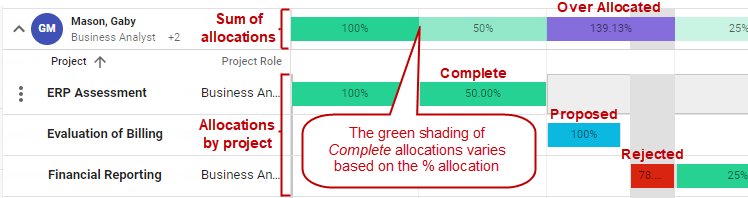
Viewing allocation statuses |
Allocations that originated as requests are color-coded to show their status – Proposed, Complete, or Rejected. Complete allocations are shaded dark to light to show their percent allocation, so you can easily spot periods of under-allocation.
|
|
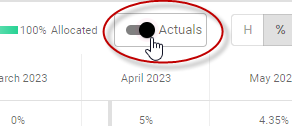
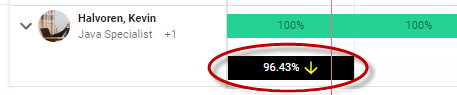
You can compare actuals and allocations to estimate whether the project will be completed on time or cost more than planned. To display actual hours recorded in timesheets (or via SmartBeats), turn on the Actuals toggle.
The actual hours will display on a black entry, beneath the corresponding allocation.
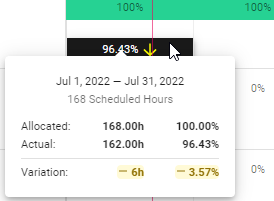
The Click the To see the actual and allocated hours for that period, and the difference between the two, click the actuals entry.
You can keep the Actuals toggle off to reduce clutter on the page. Previously, actuals displayed only if hours were entered against a task, by a resource allocated to that project with a role that matched the designated task role. But now, actuals display for any time entered against a project. |
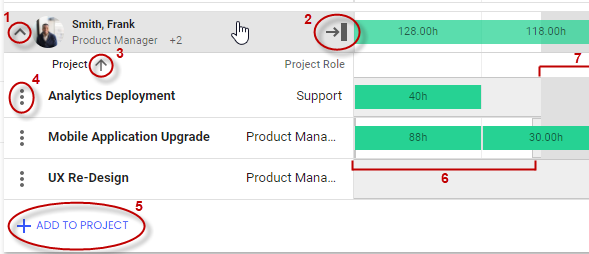
Adding, editing, or deleting allocations
Resource managers can use the Quick Allocations page to directly add, edit, or delete allocations, without first receiving a resource request from a project manager. Refer to the table below for details.
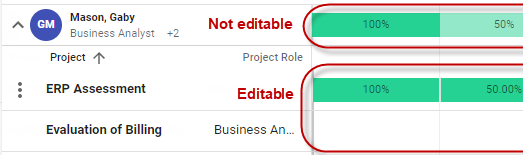
You can only edit or remove allocations from individual projects; that is, you can’t change the allocation totals located in the top row for a resource.
|
Adding an allocation for a project that already displays |
To add an allocation:
You can drag the ends of the allocation if you need to extend its date range. See Editing an allocation for details. |
|
Adding an allocation for a new project |
To add an allocation:
|
|
Handling availability conflicts |
If the resource you select has availability conflicts with the proposed allocation, a dialog showing SmartFit options will display. Refer to Handling availability limitations when allocating resources to a project for more information about these options. |
|
Editing an allocation |
To edit an allocation:
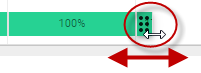
You can also extend or shorten an allocation’s date range by clicking and dragging the
|
|
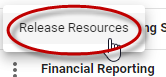
Removing an allocation |
To remove an allocation, click the
|

FAQs
Is the applicable project manager notified of changes I make via Quick Allocation?
Not currently.
Can we use both request-based allocation and quick allocation?
Yes, these two methods are compatible, so you can use requests for certain projects or groups, and make all other allocations directly. Or, you can use the ‘quick’ interface to refine fulfilled allocations.
Can we restrict the number of resources we manage using Quick Allocation?
Yes, you can ensure Quick Allocation is only available for use with a manageable number of users by defining the maximum number of resources supported.
To do this, update the Quick Allocation field located at the bottom of the Administration > Project > Project Settings page.
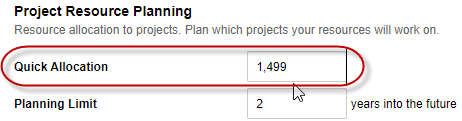
This field defaults to its maximum allowed value of 1499, and can be set to anything between 1000 and 1499.
Polaris will automatically disable Quick Allocation if you have more than the specified number of resources enabled in your system; this setting ensures the feature is only available for use with a manageable number of users.
Quick Allocation is more effective when managing a smaller set of resources. For this reason, this feature is only available if you have fewer than 1500 users in your system.