Managing CloudClock QR codes
Depending on the option you selected when provisioning your CloudClock, employees may be allowed to use QR codes to scan in and out via the CloudClock.
Adminstrators can:
- Assign new QR codes and print cards, for new CloudClock users, or for those who have lost their card
- Re-print existing QR cards, if someone damages their card
- Download QR code images, if you want to create your own card using just the image
- Remove (or unassign) QR codes from users, if they stop using CloudClock
- View assigned QR codes, in code or digit format
Assigning new QR codes and printing cards
You’ll need to assign and print a QR card for each employee who will be using this login method with the CloudClock. The cards will be generated, six per page, in a PDF. You might want to procure special card stock to use when printing the cards.
Also, if an employee loses their card or it was stolen, you’ll probably want to assign them a new QR code when you print their new card.
To assign and print new codes, in your Replicon web instance:
- Go to Administration > Employees and Organization > Users.
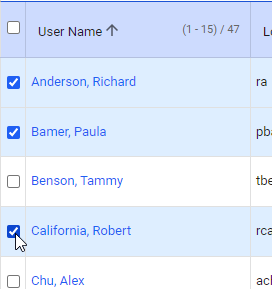
- Select the check box next to the name of each user you want to assign a code to.
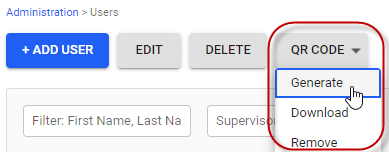
- Click the QR Code button at the top of the page, and select the Generate option.
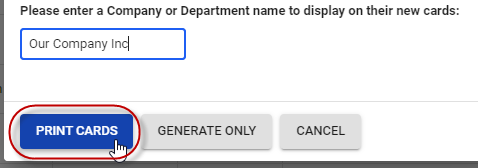
- Enter the company or department name that will display on cards.
- Click Print Cards.
Re-printing an existing QR card
If an employee damages their card, but it’s not lost, you’ll probably want to print them a new card using their existing QR code, instead of assigning a new code.
To do this, in your Replicon web instance:
- Go to Administration > Employees and Organization > Users.
- Select the check box next to the name of the user you want to print the card for.
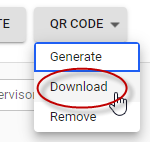
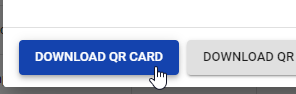
- Click the QR Code button at the top of the page, and select the Download option.
- Select Download QR Card from the dialog that displays.
A new card using the user's existing code will be printed.
Downloading QR code images
If your company designs QR cards using a third-party application, you can download PNG versions of the QR code images to use when creating the cards.
To download QR code image files:
- Go to Administration > Employees and Organization > Users.
- If the employees haven't already been assigned a code:
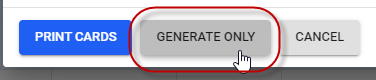
Select the check box next to the name of each employee who needs a code. Click the QR Code button and select the Generate option. Then, select Generate Only.
This will assign a QR code to each employee.
- Select the check box next to the names of the employees you want to download the images for.
- Click the QR Code button at the top of the page, and select the Download option.
- Select Download QR Image from the dialog that displays.

A PNG file will be created for each code.
Removing QR codes
You might need to remove an employee's QR code if they are moved from a team that uses CloudClock to one that does not. If an employee is leaving your company, you can simply disable them and they won’t be able to use their QR code anymore.
To remove a QR code:
- Go to Administration > Employees and Organization > Users.
- Select the check box next to the name of the user whose QR code you want to remove.
- Click the QR Code button at the top of the page, and select the Remove option.
- Click the Remove button.
Viewing QR codes
If you need to see what QR code is assigned to each CloudClock user, QR Code and QR Creation Date columns are available in:
- Reports based on the User template
This option is useful to companies that need to generate cards using a third part application, based on QR code digits.
- The User list page:
-
- Go to Administration > Employees and Organization > Users.
- Click the
 icon located in the top, right-hand corner of the page.
 - Enable the QR fields displayed, and click Set Table Settings.
FAQs
What’s the difference between generating and downloading QR codes?
Generating a code means you’re assigning a new code to an employee, whereas you can only download an existing code that has already been assigned.
Our company would like to use the QR code digits to create cards in a third party app
You can export these using reports based on the User template.
Related links
How CloudClock works
Setting up CloudClock
Administering CloudClock (video)
Monitoring the status of your CloudClocks
How time punching works