Selecting and reviewing time data for export
Before carrying out an export, you’ll first need to choose the data you want to export on the My Team > Time Workbench > All Time Data tab. To select data, you'll filter what data displays in the data grid, and possibly add data columns to that grid.
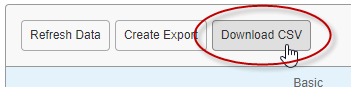
Once you've selected data, you can confirm that it is accurate and complete by reviewing data right on the Time Workbench page, or by clicking the Download CSV button to view the data in a spreadsheet.
To help you review your data, you can add more data columns to the data grid or sort the data.
If you make a change to data in a timesheet, that change will only be reflected in the Time Workbench if a timesheet recalculation has occurred. Typically, recalculation occurs automatically; you can click the ![]() icon before exiting the timesheet to ensure recalculation occurs.
icon before exiting the timesheet to ensure recalculation occurs.
Filtering to select the data
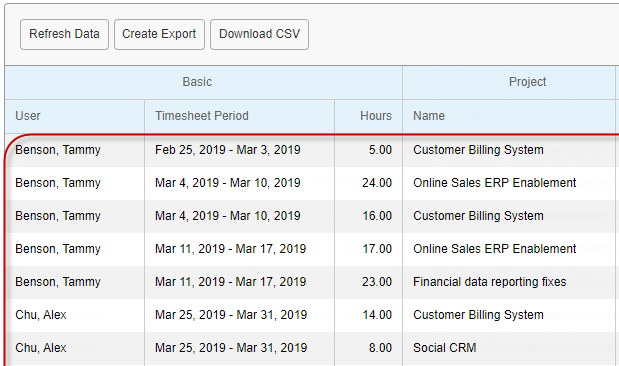
If no filter values are selected on the My Team > Time Workbench > All Time Data tab, all time data – past and present – displays in the data grid at the bottom of the page, even data you’ve already exported.
Use the filters at the top of the page to narrow the data down to the values you want to export.
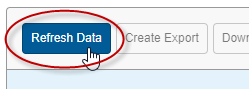
After you change a filter selection (or select new columns or sort data), the data grid will update based on the new selection only after you click the Refresh Data button.
The filter settings you select will be saved for the next time you visit the Time Workbench tab.
About the filters
You can filter by the options listed in the table below.
|
Select the date range of time entries to be exported. Dates don’t have to coincide with timesheet periods. |
|
|
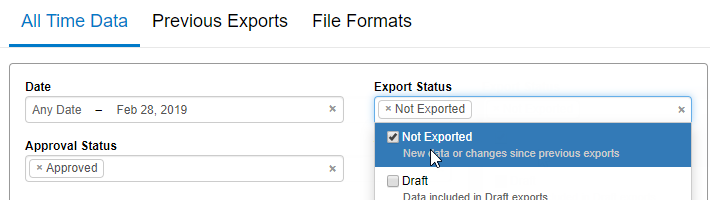
Export Status |
Select Not Exported from this filter to view all data that hasn’t yet been included in a draft or complete export.
|
|
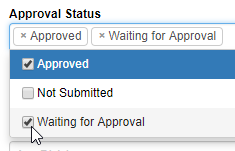
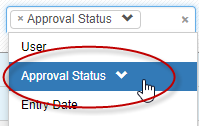
Timesheet Approval Status and Time Entry Approval Status |
Use these filters to find approved items ready for export, or ones that are not submitted or awaiting approval, so you can handle them prior to export.
These filter all items (time entries, punches, and bookings), based on approval status. They differ in what approval status is used:
For example, if you filter for approved items using the Timesheets filter, only time off bookings that fall within the week of an approved timesheet display. However, if you use the Time Entry filter, all approved time off bookings display, even ones associated with a timesheet that has not yet been approved. We don't recommend using both of these filters at the same time, since doing so won't yield useful results. Rejected timesheets show as Not Submitted. If you need to find a rejected item, you can search on the My Team > Timesheets tab. |
|
Time Entry Type |
Lets you filter by the type of time recorded – worked time, time off, or break time. You can also filter by distributed worked time, if users distribute recorded hours across days or pay codes. |
|
Project Name or Project Code |
One of these filters should be available, depending on whether you use name or code as the unique identifier for projects. Use this filter if you need to export specific projects only, rather than all projects. |
|
User |
This filter is useful for reviewing time data per user, or if you’re trying to trace hours worked by a particular user. |
|
These filters are useful if you want to review or export data for just a particular group or intersection of groups (e.g. Developers in Asia). Groups are associated with effective dates when assigned to users. Therefore, if you filter by group, the data you see will match group assignments for the date range selected. The Time Workbench doesn't support our legacy departments and employee types – ones that don't support effective dates. |

Note that names and codes for projects, and other named values always show the current value, never the historical value in effect during the filter period.
Adding and removing data columns
The grid at the bottom of the My Team > Time Workbench page shows data you've selected to export.
You can add additional columns to this grid, such as:
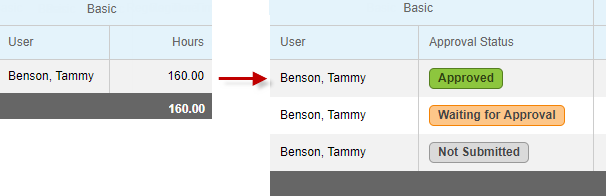
- Approval and export status for a timesheet
- Timesheet period or entry date for a time entry
There are two main reasons for adding columns to the grid:
- To select data to include in an export
Only data from columns visible in the data grid will be included when you create an export – hidden data is not exported. Therefore, you must enable all of the data columns you need included in your export.
- To review data you've chosen to export
When reviewing data, you may need to see, for example, the approval status of the timesheet.
Your column selections will be saved for the next time you visit the Time Workbench tab.
To add or remove columns:
- Click the
 icon on the right-hand side of the page.
 - From the Table Settings dialog that displays, choose what fields you want to display in the grid.
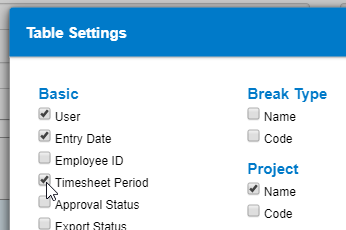
- Click Set Table Settings.
- Click Refresh Data.
When you add a row, data values will be split among all visible rows.
Sorting data
Sorting data can help make omissions more obvious. You need to add fields to the grid before you can sort by them.
Your chosen sort criteria will be saved for the next time you visit the Time Workbench tab.
To sort:
- Click the Sort field located above and to the right of the grid.
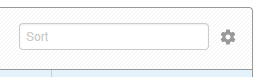
- Choose the field you want to sort by.
The field will sort in descending order by default, as indicated by the ![]() symbol.
symbol.
If you want to reverse the sort order, click the field name again and an ![]() symbol will display.
symbol will display.
- Add additional fields to sort by, if desired.

Sort order priority is based on the order of field selection.
- Click Refresh Data.
FAQs
What happens if we edit hours on a timesheet after exporting that timesheet's data?
Updated hours are saved and the difference between the new and previously exported amounts can be exported in a new export.
Hours for export always display in the Hours column; if you're making a correction, this column will show the difference (or delta) between the original value and the new value. If a correction involves removing hours, they'll show as a negative in this column.
The current value of an entry displays in the Hours (Current) column. You'll need to use this column if you're exporting to a system that doesn't support import of deltas.
For example, if you exported 4 hours for a certain project, user, and day, but correct this to 3 hours post-export, Hours (Current) will show 3 hours, while Hours will show -1 hours.
While you can view both the Hours and Hours (Current) columns in the data table when setting up your export, do not include both columns in an export. If you do, your exported data may be inaccurate.
Why isn’t a particular user appearing on the list?
Users with data for the filter criteria selected will not be listed on the page.
Why can’t I click Download CSV?
Try clicking Refresh Data – data must be current before you can create an export or download data.
I changed a value for a column, but the delta is not displaying in the Time Workbench
If a column isn't enabled in the Time Workbench, you won't see deltas for it. However, if you create an export for that data, and add the column to the export, you will see the delta, since that data is then captured in the export.