Selecting and reviewing payroll data
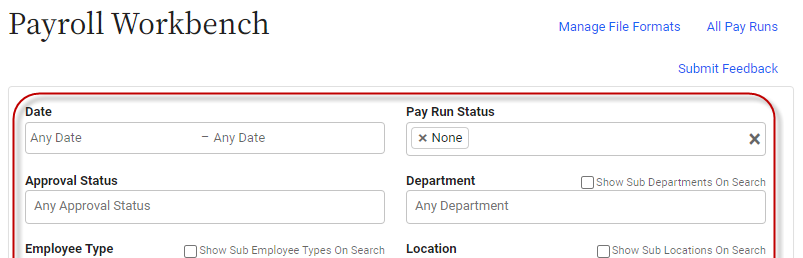
Before creating a pay run to download, you’ll first need to choose the data you want to export on the Payroll > Payroll Workbench tab. To select data, you'll need to filter what data displays in the data grid, and possibly add data columns to that grid.
Once you've selected data, you'll need to confirm that it is accurate and to find any exceptions that you might need to address prior to export. You can review data right on the Payroll Workbench page, or click the Download CSV button to view the data in a spreadsheet.

To help you review your data, you can add more data columns to the data grid or sort the data.
Filtering to select the data
If no filter values are selected on the Payroll > Payroll Workbench tab, all pay data – past and present – displays in the data grid at the bottom of the page, even data you’ve already exported.
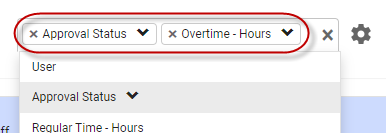
Use the filters at the top of the page to narrow the data down to the values you want to export.
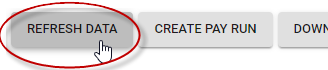
After you change a filter selection (or select new columns or sort data), the data grid will update based on the new selection only after you click the Refresh Data button.
The filter settings you select will be saved for the next time you visit the Payroll Workbench tab.
About the filters
You can filter by the options listed in the table below.
|
Select the date range of time entries to be exported. Dates don’t have to coincide with timesheet periods. You can include a trailing period in the date range, to look for prior period adjustments. |
|
|
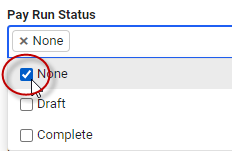
Pay Run Status |
Select None from this filter to view all data that hasn’t yet been included in a draft or complete pay run.
|
|
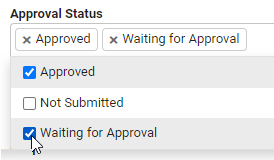
Approval Status |
This filter is commonly used to find approved items ready for export. Or, you can filter for items that are not submitted or awaiting approval, so you can handle those items prior to export.
Rejected timesheets show as Not Submitted. If you need to find a rejected item, you can search on the Payroll > Timesheets tab. |
|
User |
This filter is useful for reviewing pay per user, or if you’re trying to trace why an individual was paid a particular amount. |
|
These fields aren’t associated with effective dates, therefore be cautious when using them to filter data since they will always filter by the current value. For example, if you’re exporting pay for Sales employees only, and one employee was changed from R&D to Sales half-way through the pay period, that employee will be shown as a member of Sales for all dates in the period. If a setting that impacts payroll might change for a user, we recommend using groups to define that setting, since groups are associated with effective dates. If you're using legacy departments and employee types that are not based on groups, be aware that those fields also lack effective dates. |
|
|
Groups |
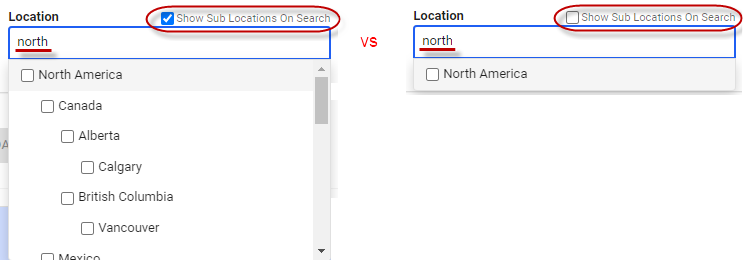
Groups are flexible fields that can be used to define user settings, such as their location, cost center, department, or employee type. We recommend using groups to filter users for payroll purposes since group assignments are associated with effective dates; If you filter by group, you can be confident that the data you’re seeing matches your selected criteria for all dates selected. Enable the Show Sub <Group name> On Search filter to show the searched group's sub-groups in search results.
This can save you from having to scroll through the full group list, or search sub-groups one by one. |
Adding and removing data columns
The grid at the bottom of the Payroll > Payroll Workbench page shows data you've selected to export.
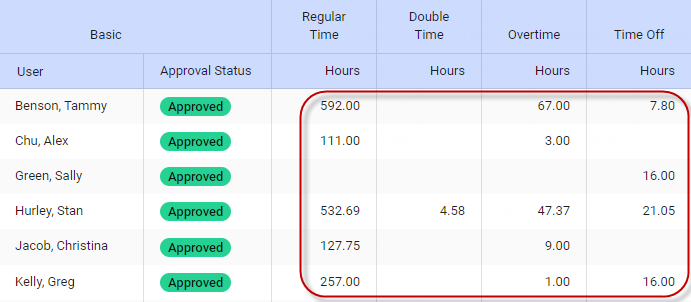
You can add additional columns to this grid, such as:
- Approval and pay run status for a timesheet
- Timesheet period or entry date for a time entry
- Hours and pay for any pay code that exists in your system
There are two main reasons for adding columns to the grid:
- To select data to include in a pay run
Only data from pay code columns visible in the data grid will be included when you create a pay run – hidden data is not exported. Therefore, you must enable all of the data columns you need included in your export.
- To review data you've chosen to export
When reviewing data, you may need to see, for example, the approval status of the timesheet, or on what date exception data was added.
Your column selections will be saved for the next time you visit the Payroll Workbench tab.
To add or remove columns:
- Click the
 icon.
icon. - From the Table Settings dialog that displays, choose what fields you want to display in the grid.
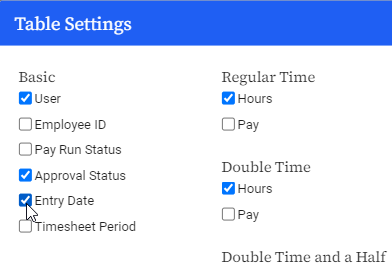
- Click Set Table Settings.
- Click Refresh Data.
Even if a pay code has no data for a user, that pay code will still display, so you can confirm that hours and pay don’t exist for that pay code. For example, this could be helpful if you’re confirming that an unapproved timesheet doesn’t have any overtime on it.
Sorting data
Sorting data can help make exceptions more obvious. You need to add fields to the grid before you can sort by them.
Your chosen sort criteria will be saved for the next time you visit the Payroll Workbench tab.
To sort:
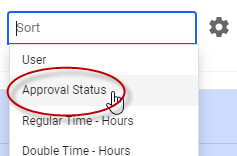
- Click the Sort field located above and to the right of the grid.
- Choose the field you want to sort by.
The field will sort in descending order by default, as indicated by the ![]() symbol.
symbol.
If you want to reverse the sort order, click the field name again and an ![]() symbol will display.
symbol will display.
- Add additional fields to sort by, if desired.
Sort order priority is based on the order of field selection.
- Click Refresh Data.
FAQs
Why isn’t a particular user appearing on the list?
Users with no payroll data for the filter criteria selected will not be listed on the page.
Why can’t I click Download CSV?
Try clicking Refresh Data – data must be current before you can create a pay run or download data.
Related links
Using the Payroll Workbench to prepare payroll
Preparing payroll using the Payroll Workbench (video)
Reviewing payroll data using the Payroll Workbench
Handling prior period payroll adjustments
Creating and downloading a pay run